
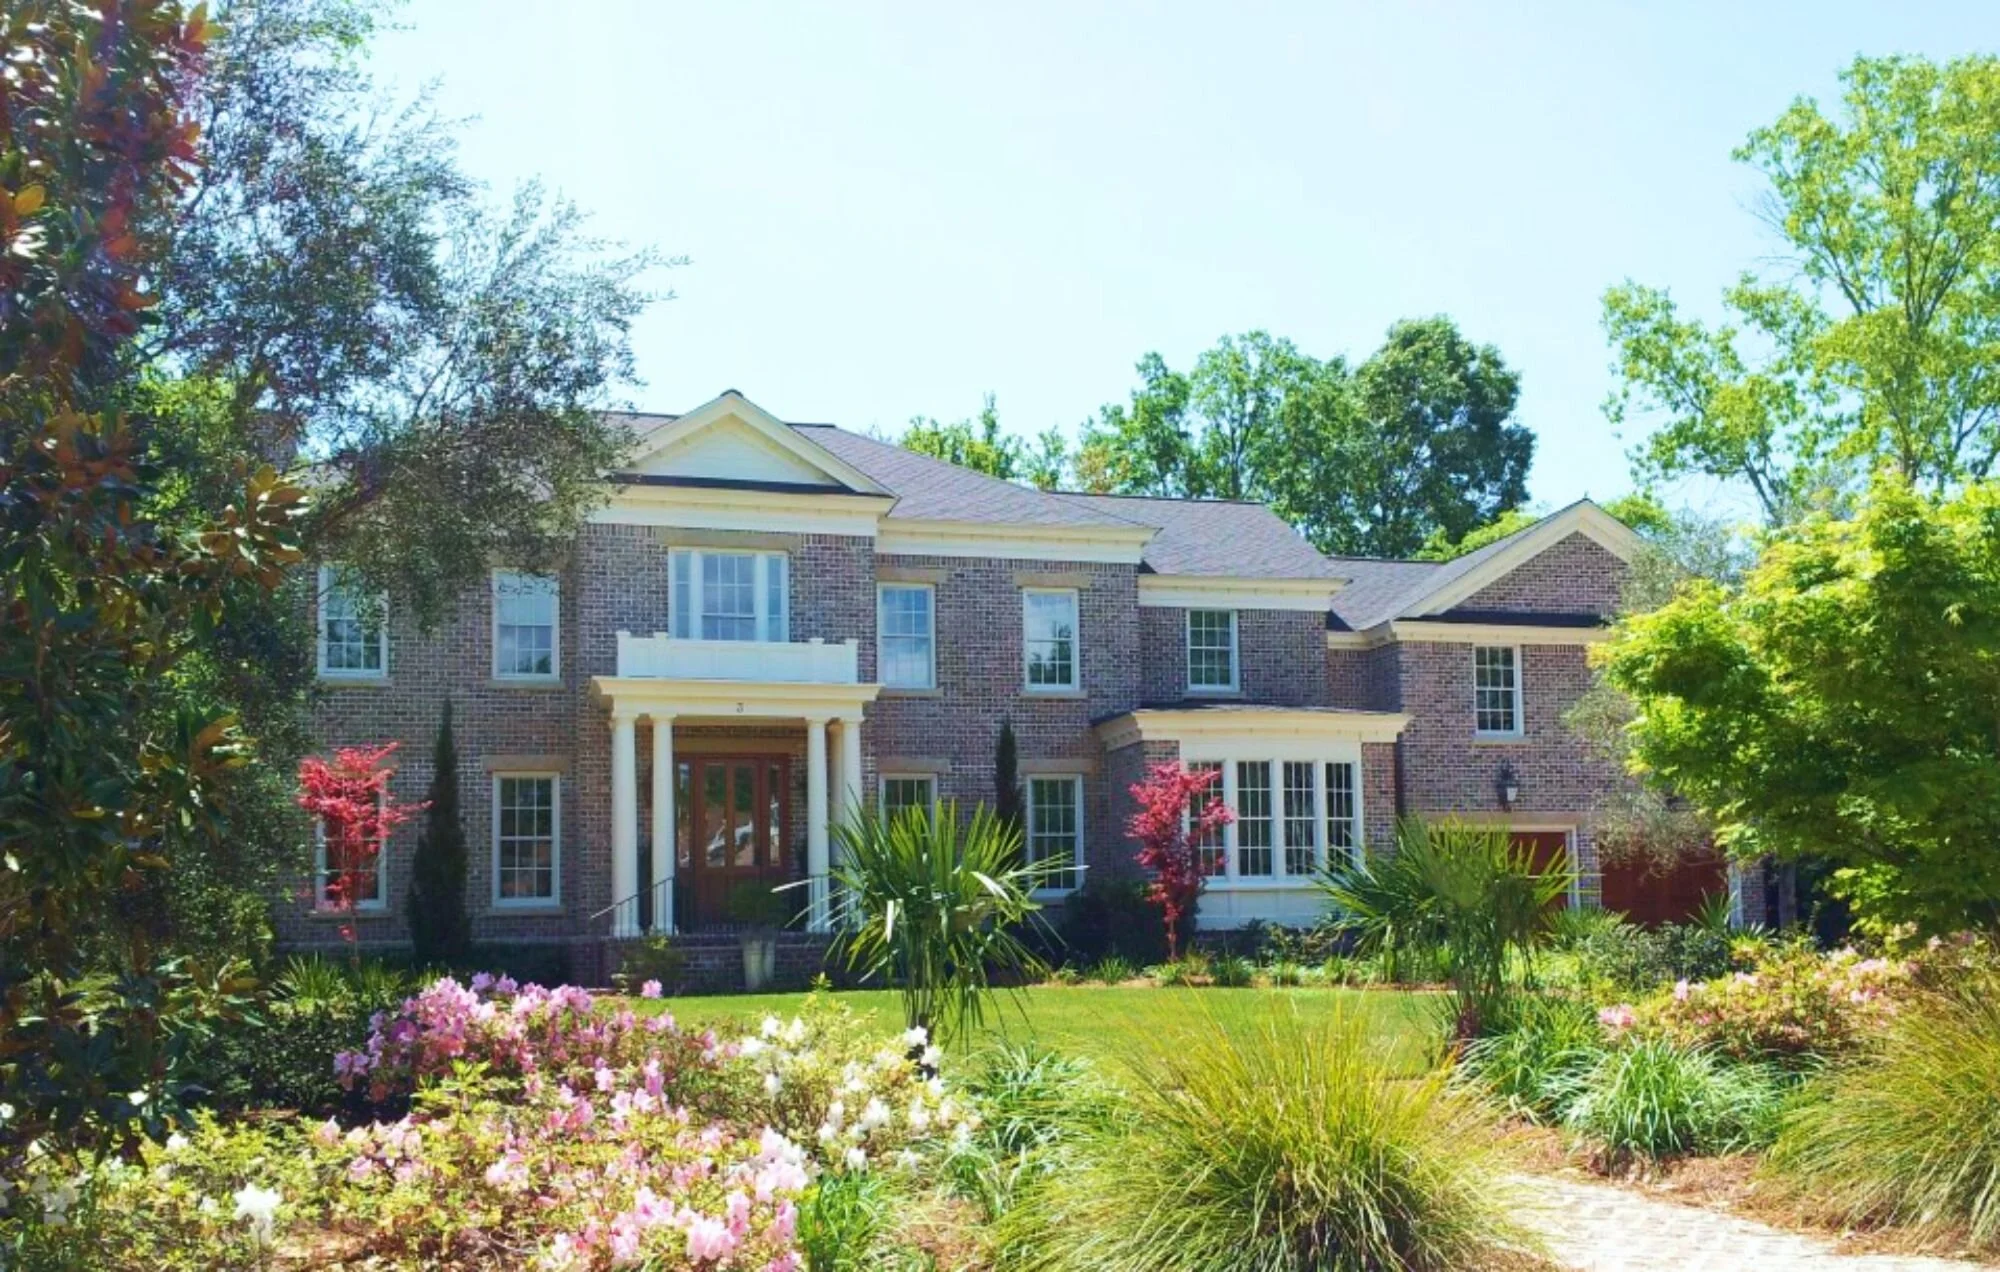
The difference between a paint job that lasts 5 years and one that lasts 15 years often comes down to one critical factor: surface preparation. Many homeowners underestimate the importance of proper preparation, but professional painters know that this step is absolutely crucial for achieving long-lasting, beautiful results. In this comprehensive guide, we’ll walk you through everything involved in preparing your Charleston home for exterior painting.
Why Preparation Matters in Charleston’s Climate
Charleston’s humid subtropical climate presents unique challenges for exterior paint. Proper preparation is essential for:
- Moisture Management: Ensuring paint adheres properly despite high humidity
- Mold and Mildew Prevention: Creating conditions that resist fungal growth
- Longevity: Maximizing the lifespan of your paint job
- Appearance: Ensuring smooth, professional-looking results
- Adhesion: Creating proper surface conditions for paint to bond
The Preparation Process
Step 1: Inspection and Assessment
Before any work begins, a thorough inspection identifies potential issues:
What Professionals Look For:
- Existing paint condition (peeling, blistering, chalking)
- Wood damage or rot
- Cracks and gaps
- Mold or mildew growth
- Moisture problems
- Structural issues
- Previous paint failures
Why It Matters: Identifying problems early allows for targeted repairs and prevents issues from recurring after painting.
Step 2: Pressure Washing
Pressure washing removes dirt, mold, mildew, and loose paint. This step is crucial for:
- Removing surface contaminants
- Revealing the true condition of the substrate
- Ensuring paint adhesion
- Preventing mold and mildew from recurring
Important Considerations:
- Pressure must be appropriate for your home’s materials
- Too much pressure can damage wood or siding
- Professional equipment and expertise are essential
- Must be done 24-48 hours before painting to allow drying
Our Pressure Washing Services prepare your home perfectly for painting.
Step 3: Scraping and Sanding
Loose and peeling paint must be removed:
Scraping:
- Removes loose paint
- Reveals underlying surface
- Requires skill to avoid damaging substrate
- Can be labor-intensive for homes with extensive peeling
Sanding:
- Smooths remaining paint
- Creates better surface for new paint adhesion
- Removes chalking and oxidation
- Requires proper dust control
Why It’s Important: New paint won’t adhere properly over loose or peeling paint. Thorough scraping and sanding ensure a sound surface.
Step 4: Repairs and Patching
Any damage discovered during inspection must be repaired:
Wood Damage:
- Damaged boards may need replacement
- Rot must be treated or removed
- Gaps and holes need filling
Caulking:
- Gaps around trim, windows, and doors must be caulked
- Caulk prevents water infiltration
- Proper caulking extends paint longevity
- Must be done before painting
Patching:
- Small holes and cracks filled with appropriate patching compound
- Must be sanded smooth
- Requires priming before painting
Step 5: Priming
Primer is essential for:
- Adhesion: Helps paint stick to surfaces
- Coverage: Provides better coverage, especially on bare wood
- Stain Blocking: Prevents stains from bleeding through
- Durability: Improves paint longevity
When Priming is Essential:
- Bare wood or new surfaces
- Areas where original finish has been compromised
- Stained areas
- Significant color changes
- Glossy surfaces
Primer Selection:
- Oil-based primers for maximum adhesion
- Latex primers for easier cleanup
- Specialty primers for specific problems
- Professional-grade primers for best results
Step 6: Surface Protection
Before painting begins, surrounding areas must be protected:
What Gets Protected:
- Landscaping and plants
- Decks and patios
- Windows and glass
- Doors and hardware
- Gutters and downspouts
- Adjacent structures
Protection Methods:
- Drop cloths and tarps
- Plastic sheeting
- Masking tape
- Careful planning to minimize cleanup
Step 7: Weather Considerations
Proper weather conditions are essential:
Ideal Conditions:
- Temperature between 50-85°F
- Low humidity (below 85%)
- No rain in forecast for 24-48 hours
- Shade during application (prevents lap marks)
- Good air circulation for drying
Why It Matters: Paint applied in improper conditions won’t cure properly and may fail prematurely.
Common Preparation Mistakes to Avoid
Inadequate Pressure Washing
Mistake: Rushing through pressure washing
Result: Paint won’t adhere properly; premature failure
Solution: Allow adequate time for thorough cleaning
Insufficient Scraping
Mistake: Not removing all loose paint
Result: New paint fails as underlying paint continues to peel
Solution: Scrape until only sound paint remains
Skipping Primer
Mistake: Painting directly over bare wood or stained areas
Result: Poor coverage, stains bleeding through, premature failure
Solution: Always prime bare wood and stained areas
Poor Caulking
Mistake: Inadequate or improper caulking
Result: Water infiltration, paint failure, wood damage
Solution: Caulk all gaps and joints properly
Painting in Poor Weather
Mistake: Painting when conditions aren’t ideal
Result: Paint won’t cure properly; poor adhesion; early failure
Solution: Wait for appropriate weather conditions
Inadequate Surface Preparation
Mistake: Rushing preparation to start painting
Result: Poor results; early paint failure
Solution: Invest adequate time in preparation
Professional Preparation vs. DIY
Professional Preparation Advantages
- Experience: Professionals know what to look for and how to address issues
- Equipment: Professional-grade equipment ensures better results
- Efficiency: Professionals work faster without sacrificing quality
- Warranty: Professional work is typically backed by warranty
- Results: Professional preparation ensures better paint adhesion and longevity
DIY Preparation Challenges
- Time: Preparation is time-consuming
- Equipment: Professional equipment is expensive
- Skill: Proper technique requires experience
- Safety: Working at heights presents safety challenges
- Results: DIY preparation often results in suboptimal outcomes
Preparation Timeline
Typical Preparation Schedule:
- Day 1: Inspection and assessment
- Day 2: Pressure washing and drying
- Days 3-4: Scraping and sanding
- Days 5-6: Repairs, caulking, and patching
- Day 7: Priming
- Day 8: Final inspection and weather check
- Day 9-10: Painting
Cost of Preparation
Preparation typically accounts for 30-40% of total project cost. While this might seem high, it’s an investment in:
- Longevity: Proper preparation extends paint life
- Appearance: Better preparation ensures better-looking results
- Durability: Proper preparation prevents premature failure
- Value: Protects your home investment
Preparing Your Home for Professional Painters
If you’re hiring professionals, here’s how to prepare:
- Clear the area: Remove outdoor furniture, grills, and decorations
- Protect plants: Cover landscaping that could be affected
- Provide access: Ensure painters can access all areas
- Discuss concerns: Point out any specific issues or concerns
- Plan for disruption: Expect some noise and activity
- Arrange parking: Provide space for contractor vehicles
Professional Exterior Painting Preparation
Charleston Paint Masters takes preparation seriously. Our Exterior Painting Services include:
- Comprehensive inspection and assessment
- Professional pressure washing
- Thorough scraping and sanding
- Expert repairs and caulking
- Proper priming
- Weather-appropriate scheduling
- 2-year warranty on all work
Conclusion
Proper preparation is the foundation of a successful exterior paint job. While it’s tempting to rush through this step to get to the actual painting, investing time and resources in preparation pays dividends in longevity, appearance, and durability.
Professional painters understand that preparation is where the real work happens. The actual painting is just the final step in a comprehensive process. By properly preparing your home’s exterior, you ensure that your new paint job will look beautiful and last for years to come.
Ready to prepare your Charleston home for a professional exterior paint job? Contact Charleston Paint Masters for a free inspection and estimate. Our experienced team will assess your home’s specific needs and provide a comprehensive preparation and painting plan.
References
- Professional Painters Association Preparation Guidelines
- Benjamin Moore Exterior Preparation Standards
- Sherwin Williams Surface Preparation Guide
- Industry Guidelines for Exterior Paint Durability
Frequently Asked Questions
Q: How long does exterior painting preparation take?
A: Typical preparation takes 3-7 days depending on the condition of your home’s exterior and the extent of repairs needed.
Q: Can you paint over peeling paint?
A: No. All loose and peeling paint must be removed before new paint is applied. Painting over peeling paint will result in early failure.
Q: Is pressure washing necessary?
A: Yes. Pressure washing removes contaminants that prevent paint adhesion. It’s an essential step in the preparation process.
Q: Do you always need to prime before painting?
A: Priming is essential for bare wood, stained areas, and significant color changes. For repainting existing painted surfaces in good condition, primer may not be necessary.
Q: How do weather conditions affect exterior painting?
A: Paint requires specific temperature and humidity conditions to cure properly. Painting in improper conditions results in poor adhesion and early failure.
Call to Action
Don’t let poor preparation compromise your exterior paint job. Contact Charleston Paint Masters for professional preparation and painting services. Our experienced team will ensure your home is properly prepared and beautifully painted.
Call us at 843-224-0085 or request a free estimate online.
