
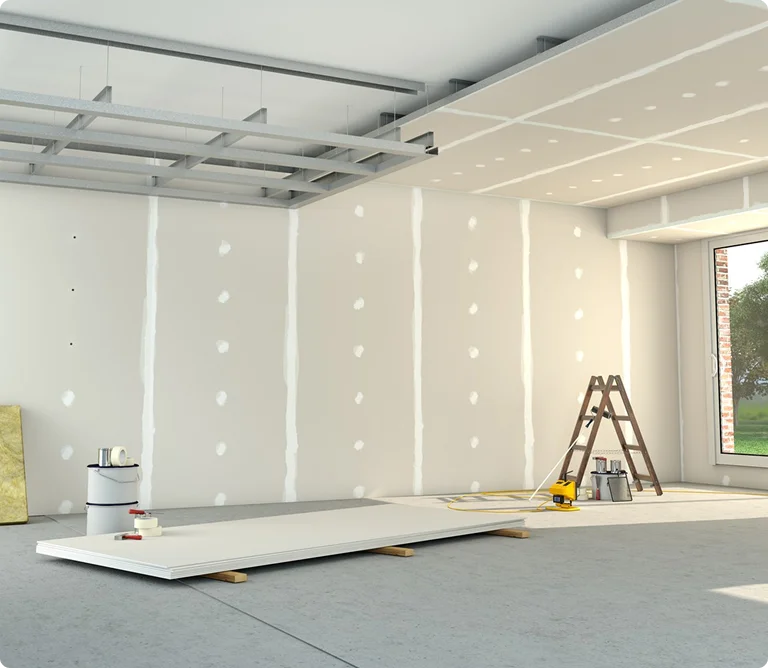
Common Types of Drywall Damage
Most drywall damage falls into a handful of categories:
- Nail and screw holes from hung pictures, shelves, or old fixtures. Small individually, but they add up in a room that’s been lived in for years.
- Cracks, often near door frames, window corners, or where two pieces of drywall meet. Some are cosmetic; recurring cracks in the same spot can point to settling or a seam that needs more than a dab of spackle.
- Water stains, usually brown or yellow rings, most often on ceilings or near windows.
- Dents and impact damage from furniture, doorknobs, or general wear and tear, especially in hallways and near doorways.
Each type needs a slightly different repair approach, which is part of why “just patch it and paint over it” doesn’t always hold up.
Why Water Stains Need Special Attention
A water stain is rarely just cosmetic. It’s a sign that moisture got into the wall or ceiling at some point, from a roof leak, plumbing issue, or condensation, and painting directly over a water stain without addressing it first is one of the most common repair mistakes homeowners make. Standard paint won’t seal a stain; it often bleeds right back through even a fresh coat within days or weeks.
This matters especially on ceilings, where water stains are most common and hardest to spot early. If your home has a popcorn or textured ceiling, stained sections also need extra care during repair, since matching that texture invisibly takes more skill than patching a flat wall. A proper repair uses a stain-blocking primer specifically to seal the area before any topcoat goes on, and, just as important, confirms the original moisture source has actually been fixed. Painting over an active leak just hides the problem until it shows up again, usually worse.
DIY Patching vs. When to Call a Professional
A single small nail hole is a reasonable weekend fix for most homeowners: a dab of spackle, a light sand, done. Where it gets harder is anything beyond that. Blending a patch so it’s invisible under paint, not just filled, takes matching the surrounding texture, feathering the edges so there’s no visible ridge, and priming correctly so the repaired spot doesn’t absorb paint differently than the rest of the wall (a problem called flashing, where patched areas show up as a slightly different sheen once the paint dries).
Larger cracks, multiple repairs across a room, or anything tied to water damage benefit from a professional pass, both for the repair itself and because it sets up the paint job that follows to actually look right. A patch that looks invisible before paint can still show through after paint if it wasn’t finished correctly, which is a frustrating thing to discover once the job is “done.” If your project also involves removing old wallpaper, that’s worth planning alongside drywall repair rather than after it, since wallpaper removal often reveals wall damage that wasn’t visible before: adhesive residue, gouges, or drywall paper that tore away with the old paper.
Drywall repair cost varies a lot with the type and size of the damage, which is worth knowing before you get a quote. According to 2026 Angi and HomeAdvisor cost data, the national average for a professional drywall repair runs around $600, with small holes typically falling between $50 and $150 and larger holes, cracks, or ceiling and water damage repairs climbing well past $1,000 depending on scope. Most contractors also charge a minimum trip fee regardless of size, which is why bundling several small repairs into one visit, rather than calling separately for each one, is usually the more cost-effective route.
What a Proper Repair-Then-Paint Process Looks Like
A repair done right, before an interior painting project, generally follows the same sequence regardless of the type of damage:
- Assess and clean the damaged area, removing any loose or crumbling material.
- Patch and fill, using the right material for the size of the repair (spackle for small holes, joint compound and tape for larger cracks or holes).
- Sand smooth, feathering the edges into the surrounding wall so there’s no visible ridge or bump once painted.
- Prime the repaired area, especially over any water stains or bare patched compound, so it accepts paint evenly.
- Paint, matching sheen and color across the full wall or ceiling, not just the repaired patch, so the finish is consistent.
Skipping steps 3 or 4 is where most bad patch jobs go wrong. The repair might look fine right after patching, then show up as a flat spot or a slightly different texture the moment paint, especially anything but a flat matte finish, hits it.
Rooms Where This Matters Most
Drywall repair matters everywhere, but a few rooms see it most often:
- Bedrooms, where furniture gets moved and headboards rub against walls over the years.
- Living rooms, high-traffic spaces with the most wall-mounted decor, shelving, and furniture contact.
- Ceilings, where water stains are most likely to appear and are the easiest type of damage to miss until you’re already planning a paint project.
If you’re already planning a color refresh for one of these rooms, and especially if you’re considering an accent wall, it’s worth handling any wall repair at the same time. Patch work tends to show more, not less, under a bold accent color, so starting with a clean, properly repaired surface matters even more when the finished color is meant to stand out.
Getting It Done Right
Drywall repair is easy to underestimate and expensive to redo once paint is already on the wall. Charleston Paint Masters handles repair and paint as one coordinated job, so the prep work actually supports the finish instead of undermining it.
Request a free estimate or call (843) 224-0085 to get your walls and ceilings properly assessed before your next paint project.
